Integrate II
Overview
This guide shows an example of how to integrate Internet Identity into an application by using a simple 'Who am I?' backend canister and a frontend UI that returns the Internet Identity principal of the user who calls the backend's whoami method.
This project uses the pullable version of the Internet identity canister. A pullable canister is a canister that provides a public service at a static canister ID. To learn more about pullable canisters, please see the documentation.
Prerequisites
Before you start, verify that you have:
- Downloaded and installed
dfxversion 0.14.1 or later. - Node.js v16+.
Step 1: To get started, open a terminal window and create a new project:
- dfx v0.17.0 or newer
- dfx v0.16.1 or older
Start dfx:
dfx start --clean --background
Use dfx new <project_name> to create a new project:
dfx new ii_integration
You will be prompted to select the language that your backend canister will use. Select 'Motoko':
? Select a backend language: ›
❯ Motoko
  Rust
  TypeScript (Azle)
  Python (Kybra)
Then, select a frontend framework for your frontend canister. Select 'Vanilla JS':
  ? Select a frontend framework: ›
  SvelteKit
  React
  Vue
❯ Vanilla JS
  No JS template
  No frontend canister
Lastly, you can include extra features to be added to your project. Select 'Internet Identity'.
  ? Add extra features (space to select, enter to confirm) ›
x Internet Identity
⬚ Bitcoin (Regtest)
⬚ Frontend tests
Start dfx:
dfx start --clean --background
Use dfx new <project_name> to create a new project:
dfx new ii_integration
As mentioned in the introduction, you'll be using the pullable version of the Internet Identity canister, which uses the dfx deps workflow. The project's dfx.json file defines the Internet Identity canister as "type": "pull".
Open the dfx.json file and replace the existing content with the following:
{
  "canisters": {
    "ii_integration_backend": {
      "main": "src/ii_integration_backend/main.mo",
      "type": "motoko"
    },
    "internet_identity" : {
      "type": "pull",
      "id": "rdmx6-jaaaa-aaaaa-aaadq-cai"
    },
    "ii_integration_frontend": {
      "dependencies": [
        "ii_integration_backend"
      ],
      "frontend": {
        "entrypoint": "src/ii_integration_frontend/src/index.html"
      },
      "source": [
        "src/ii_integration_frontend/assets",
        "dist/ii_integration_frontend/"
      ],
      "type": "assets"
    }
  },
  "defaults": {
    "build": {
      "args": "",
      "packtool": ""
    }
  },
  "output_env_file": ".env",
  "version": 1
}
Pull the II canister using dfx deps:
dfx deps pull
Initialize the canister. You can use the '(null)' value passed to the init command to use the default values. To do so, run the command:
dfx deps init internet_identity --argument '(null)'
Step 2: For this project, you'll use a simple 'Who am I?' function for the backend canister. Open the src/ii_integration_backend/main.mo file and replace the existing content with the following:
actor {
    public shared (msg) func whoami() : async Principal {
        msg.caller
    };
};
In this actor, there is a single method that responds with the caller's principal. This will show if you make a request from the application's frontend using an authenticated Internet Identity or an AnonymousIdentity.
Step 3: Install the @dfinity/auth-client package:
npm install @dfinity/auth-client
Step 4: Insert the following code into the src/ii_integration_frontend/src/index.js file:
import {
    createActor,
    ii_integration_backend,
} from "../../declarations/ii_integration_backend";
import { AuthClient } from "@dfinity/auth-client";
import { HttpAgent } from "@dfinity/agent";
let actor = ii_integration_backend;
console.log(process.env.CANISTER_ID_INTERNET_IDENTITY);
const whoAmIButton = document.getElementById("whoAmI");
whoAmIButton.onclick = async (e) => {
    e.preventDefault();
    whoAmIButton.setAttribute("disabled", true);
    const principal = await actor.whoami();
    whoAmIButton.removeAttribute("disabled");
    document.getElementById("principal").innerText = principal.toString();
    return false;
};
const loginButton = document.getElementById("login");
loginButton.onclick = async (e) => {
    e.preventDefault();
    let authClient = await AuthClient.create();
    // start the login process and wait for it to finish
    await new Promise((resolve) => {
        authClient.login({
            identityProvider:
                process.env.DFX_NETWORK === "ic"
                    ? "https://identity.ic0.app"
                    : `http://rdmx6-jaaaa-aaaaa-aaadq-cai.localhost:4943`,
            onSuccess: resolve,
        });
    });
    const identity = authClient.getIdentity();
    const agent = new HttpAgent({ identity });
    actor = createActor(process.env.CANISTER_ID_II_INTEGRATION_BACKEND, {
        agent,
    });
    return false;
};
This code does the following:
- Interacts with the backend actor to call the
whoamimethod. - Creates an
authclient. - Retrieves the identity from the
authclient. - Uses the identity to create an agent that interacts with ICP.
- Then, uses the interface description of the app to create an actor that's used to call the app's service methods.
If you used a project name other than ii_integration, you will need to rename the imports and environment variable in the code.
Step 5: Insert the following code into the src/ii_integration_frontend/src/index.html file:
<!DOCTYPE html>
<html lang="en">
  <head>
    <meta charset="UTF-8" />
    <meta name="viewport" content="width=device-width" />
    <title>greet</title>
    <base href="/" />
    <link rel="icon" href="favicon.ico" />
    <link type="text/css" rel="stylesheet" href="main.css" />
  </head>
  <body>
    <main>
      <img src="logo2.svg" alt="DFINITY logo" />
      <br />
      <br />
      <form>
        <button id="login">Login!</button>
      </form>
      <br />
      <form>
        <button id="whoAmI">Who Am I</button>
      </form>
      <section id="principal"></section>
    </main>
  </body>
</html>
This code provides a simple UI for us to interact with our application.
If you'd rather clone the repo for this code, it can be found here.
Step 6: Deploy the project:
dfx deps deploy
dfx deploy
Step 8: Navigate to the frontend canister's URL in your web browser. You will see the frontend of the app:
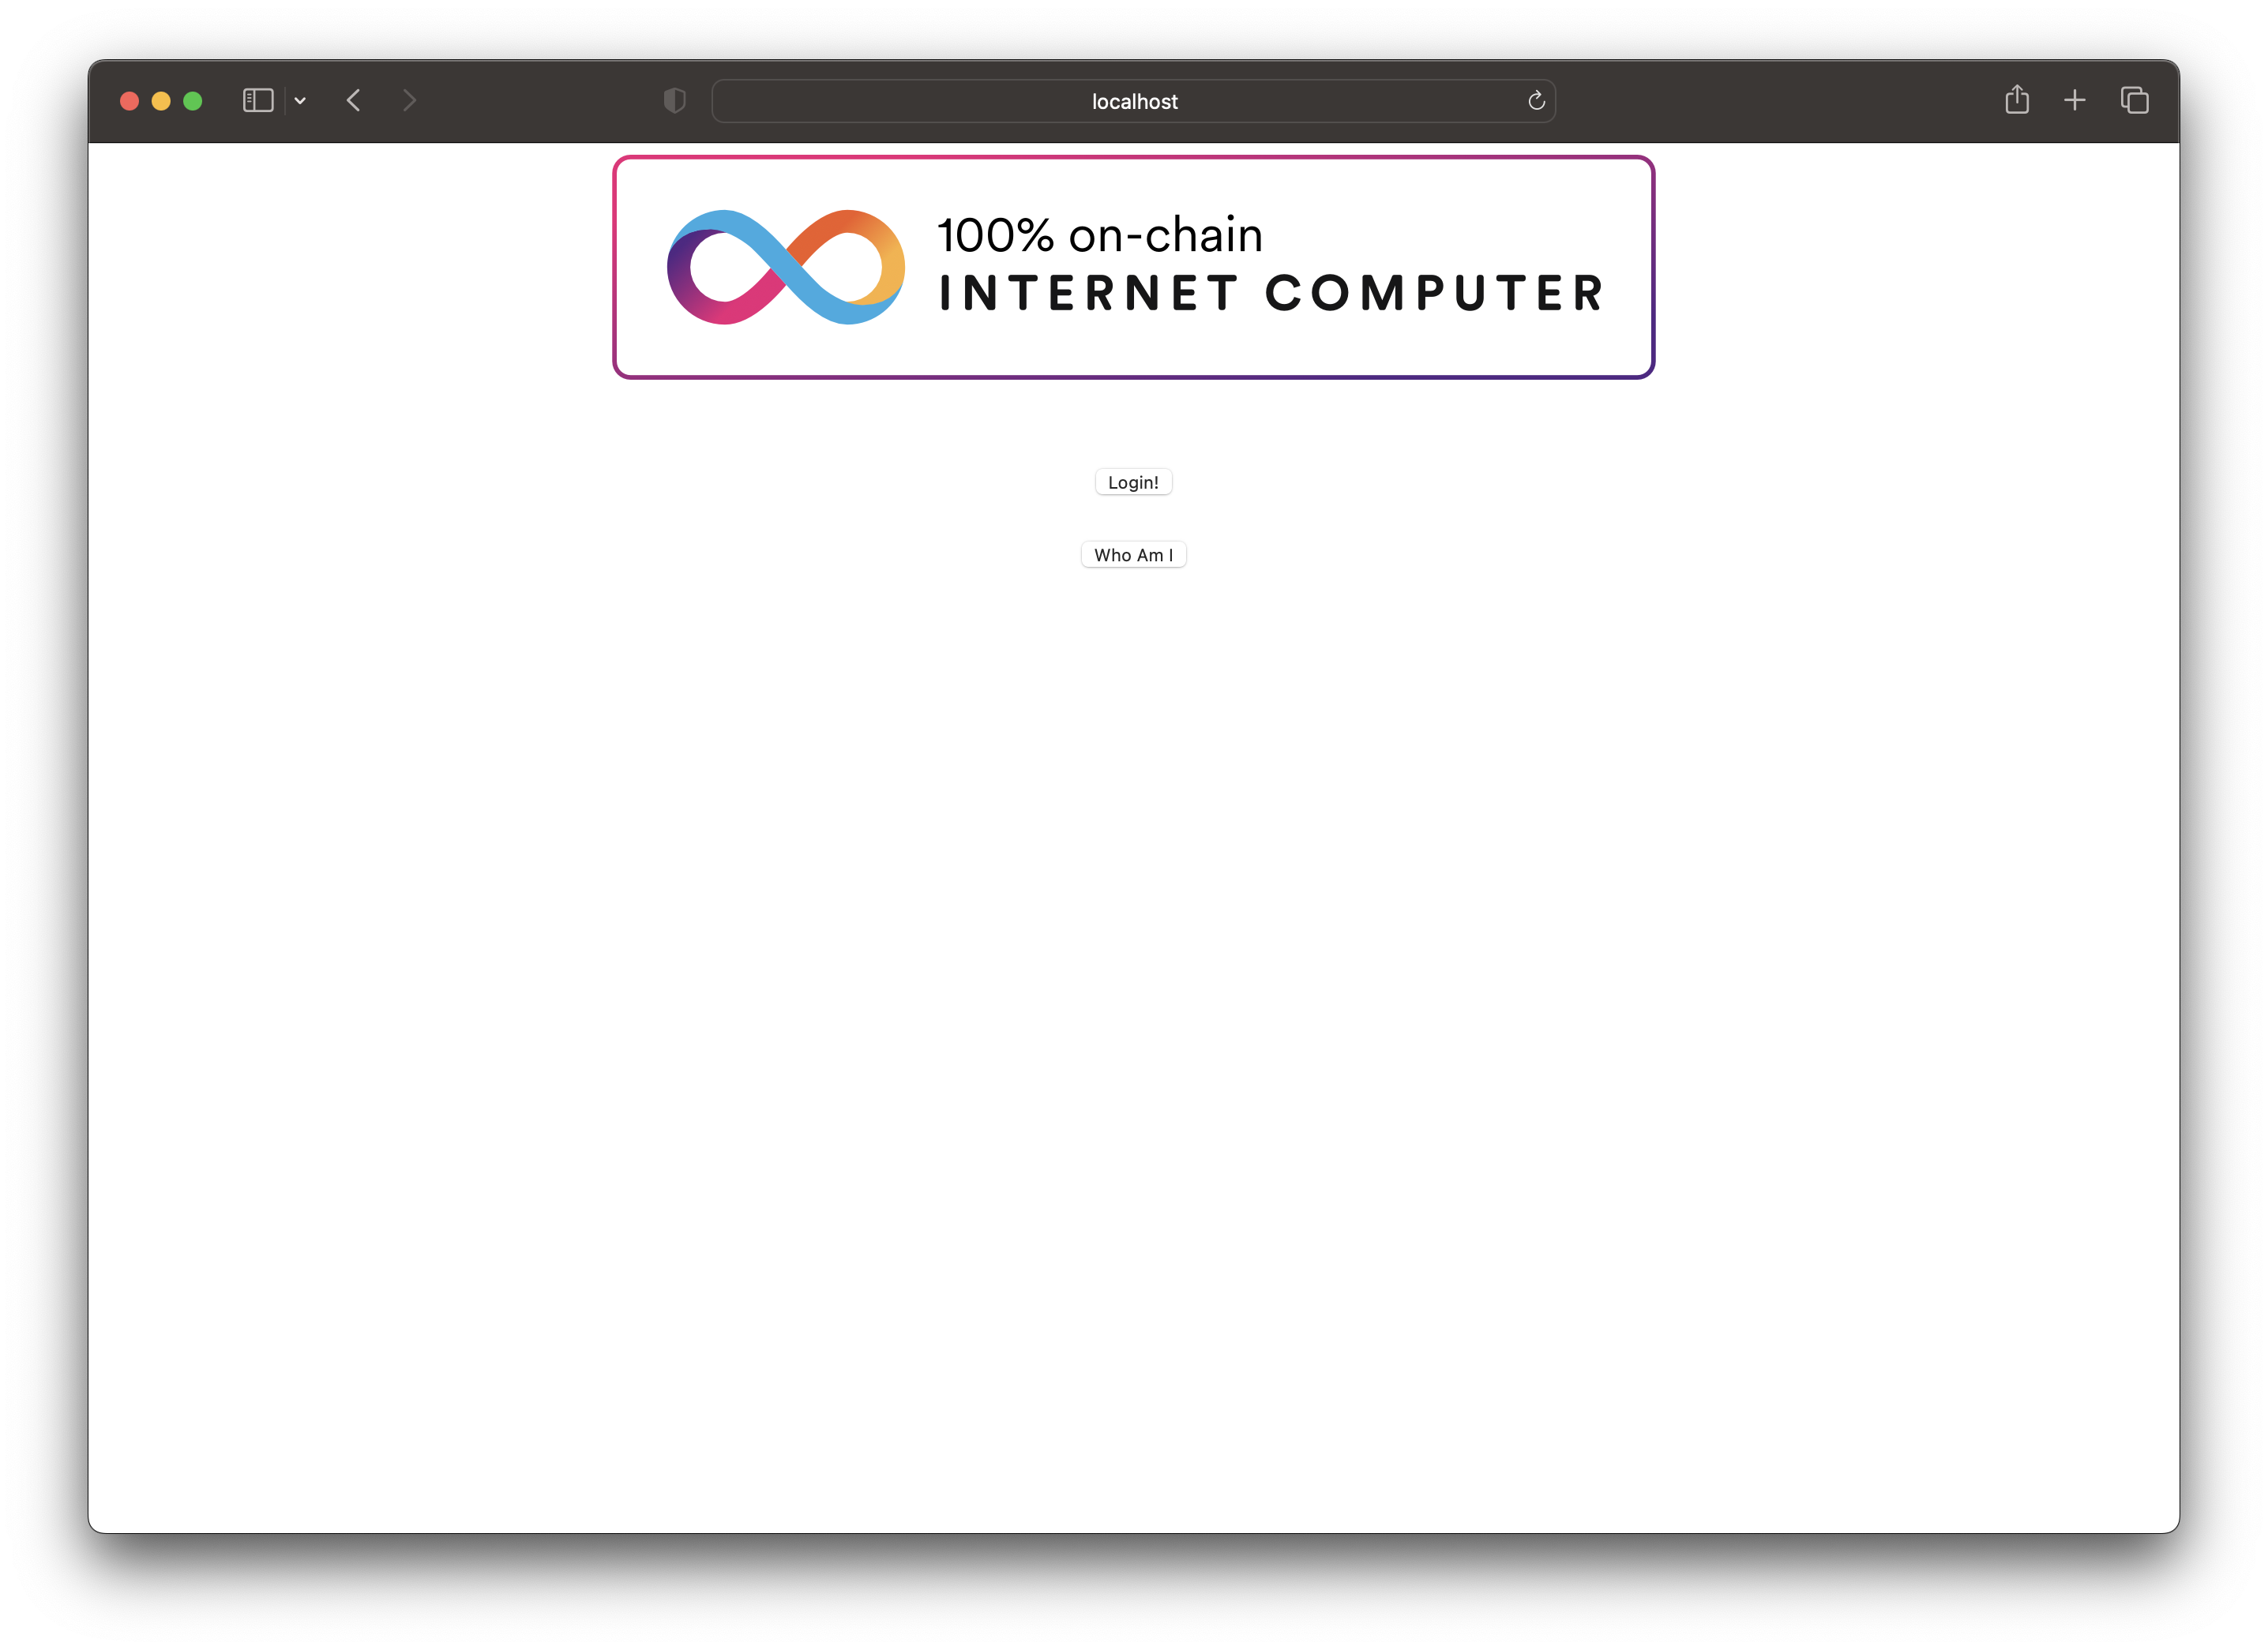
Step 7: Then, select 'Log in'.
You'll be redirected to the II frontend. Since you're running this locally, this will be using a local, non-production Internet Identity. To create one, follow the on-screen steps.
Step 8: Create a local Internet Identity
- Select 'Create New' from the UI.
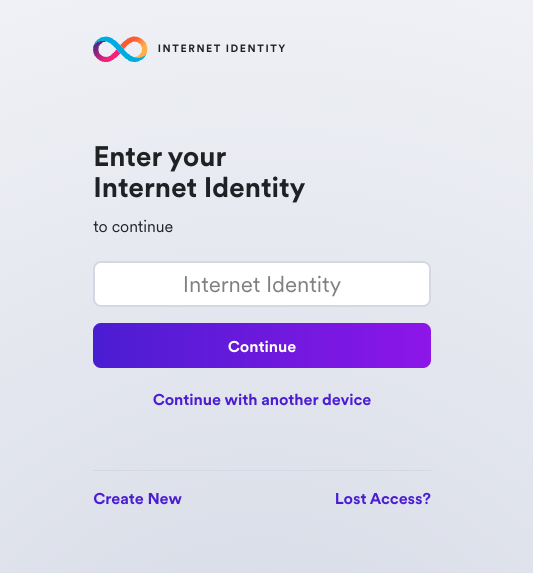
- Next, select 'Create Passkey'.
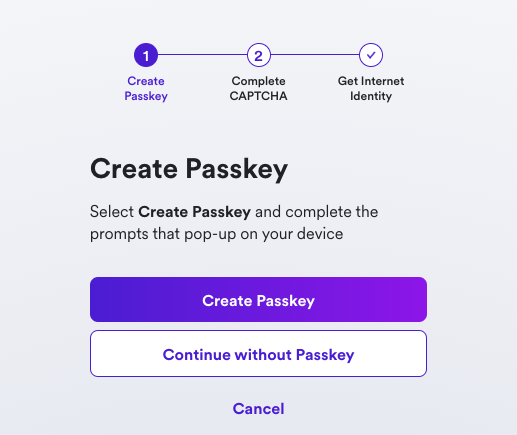
- When prompted, choose how to create your passkey, either on your current device or you can use another device.
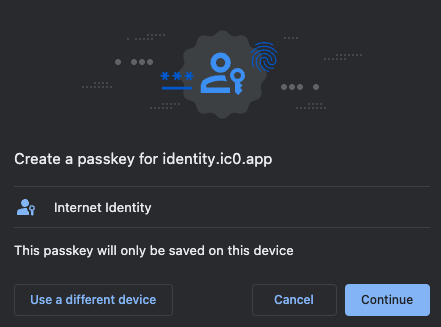
- Then, enter the CAPTCHA to continue.
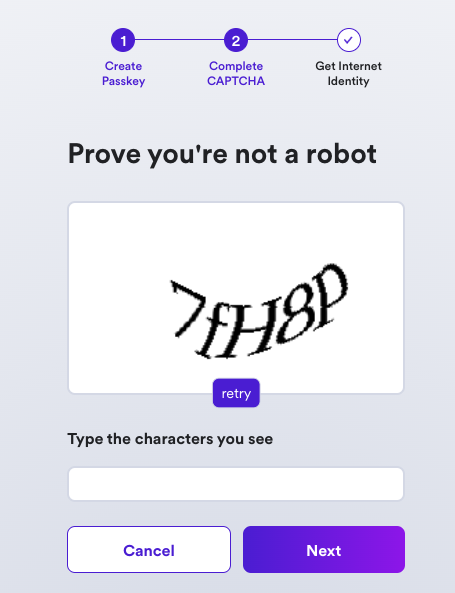
Your Internet Identity has been created! It'll be shown on the screen, and it is recommended that you write it down in a safe location to save it.
This number is your Internet Identity. With this number and your passkey, you will be able to create and securely connect to Internet Computer dapps. If you lose this number, you will lose any accounts that were created with it. This number is not secret, but is unique to you.
Once you save it, select the 'I saved it, continue' button.
Step 9: Once you are redirected back to the frontend of the app, click the 'Click me!' button.
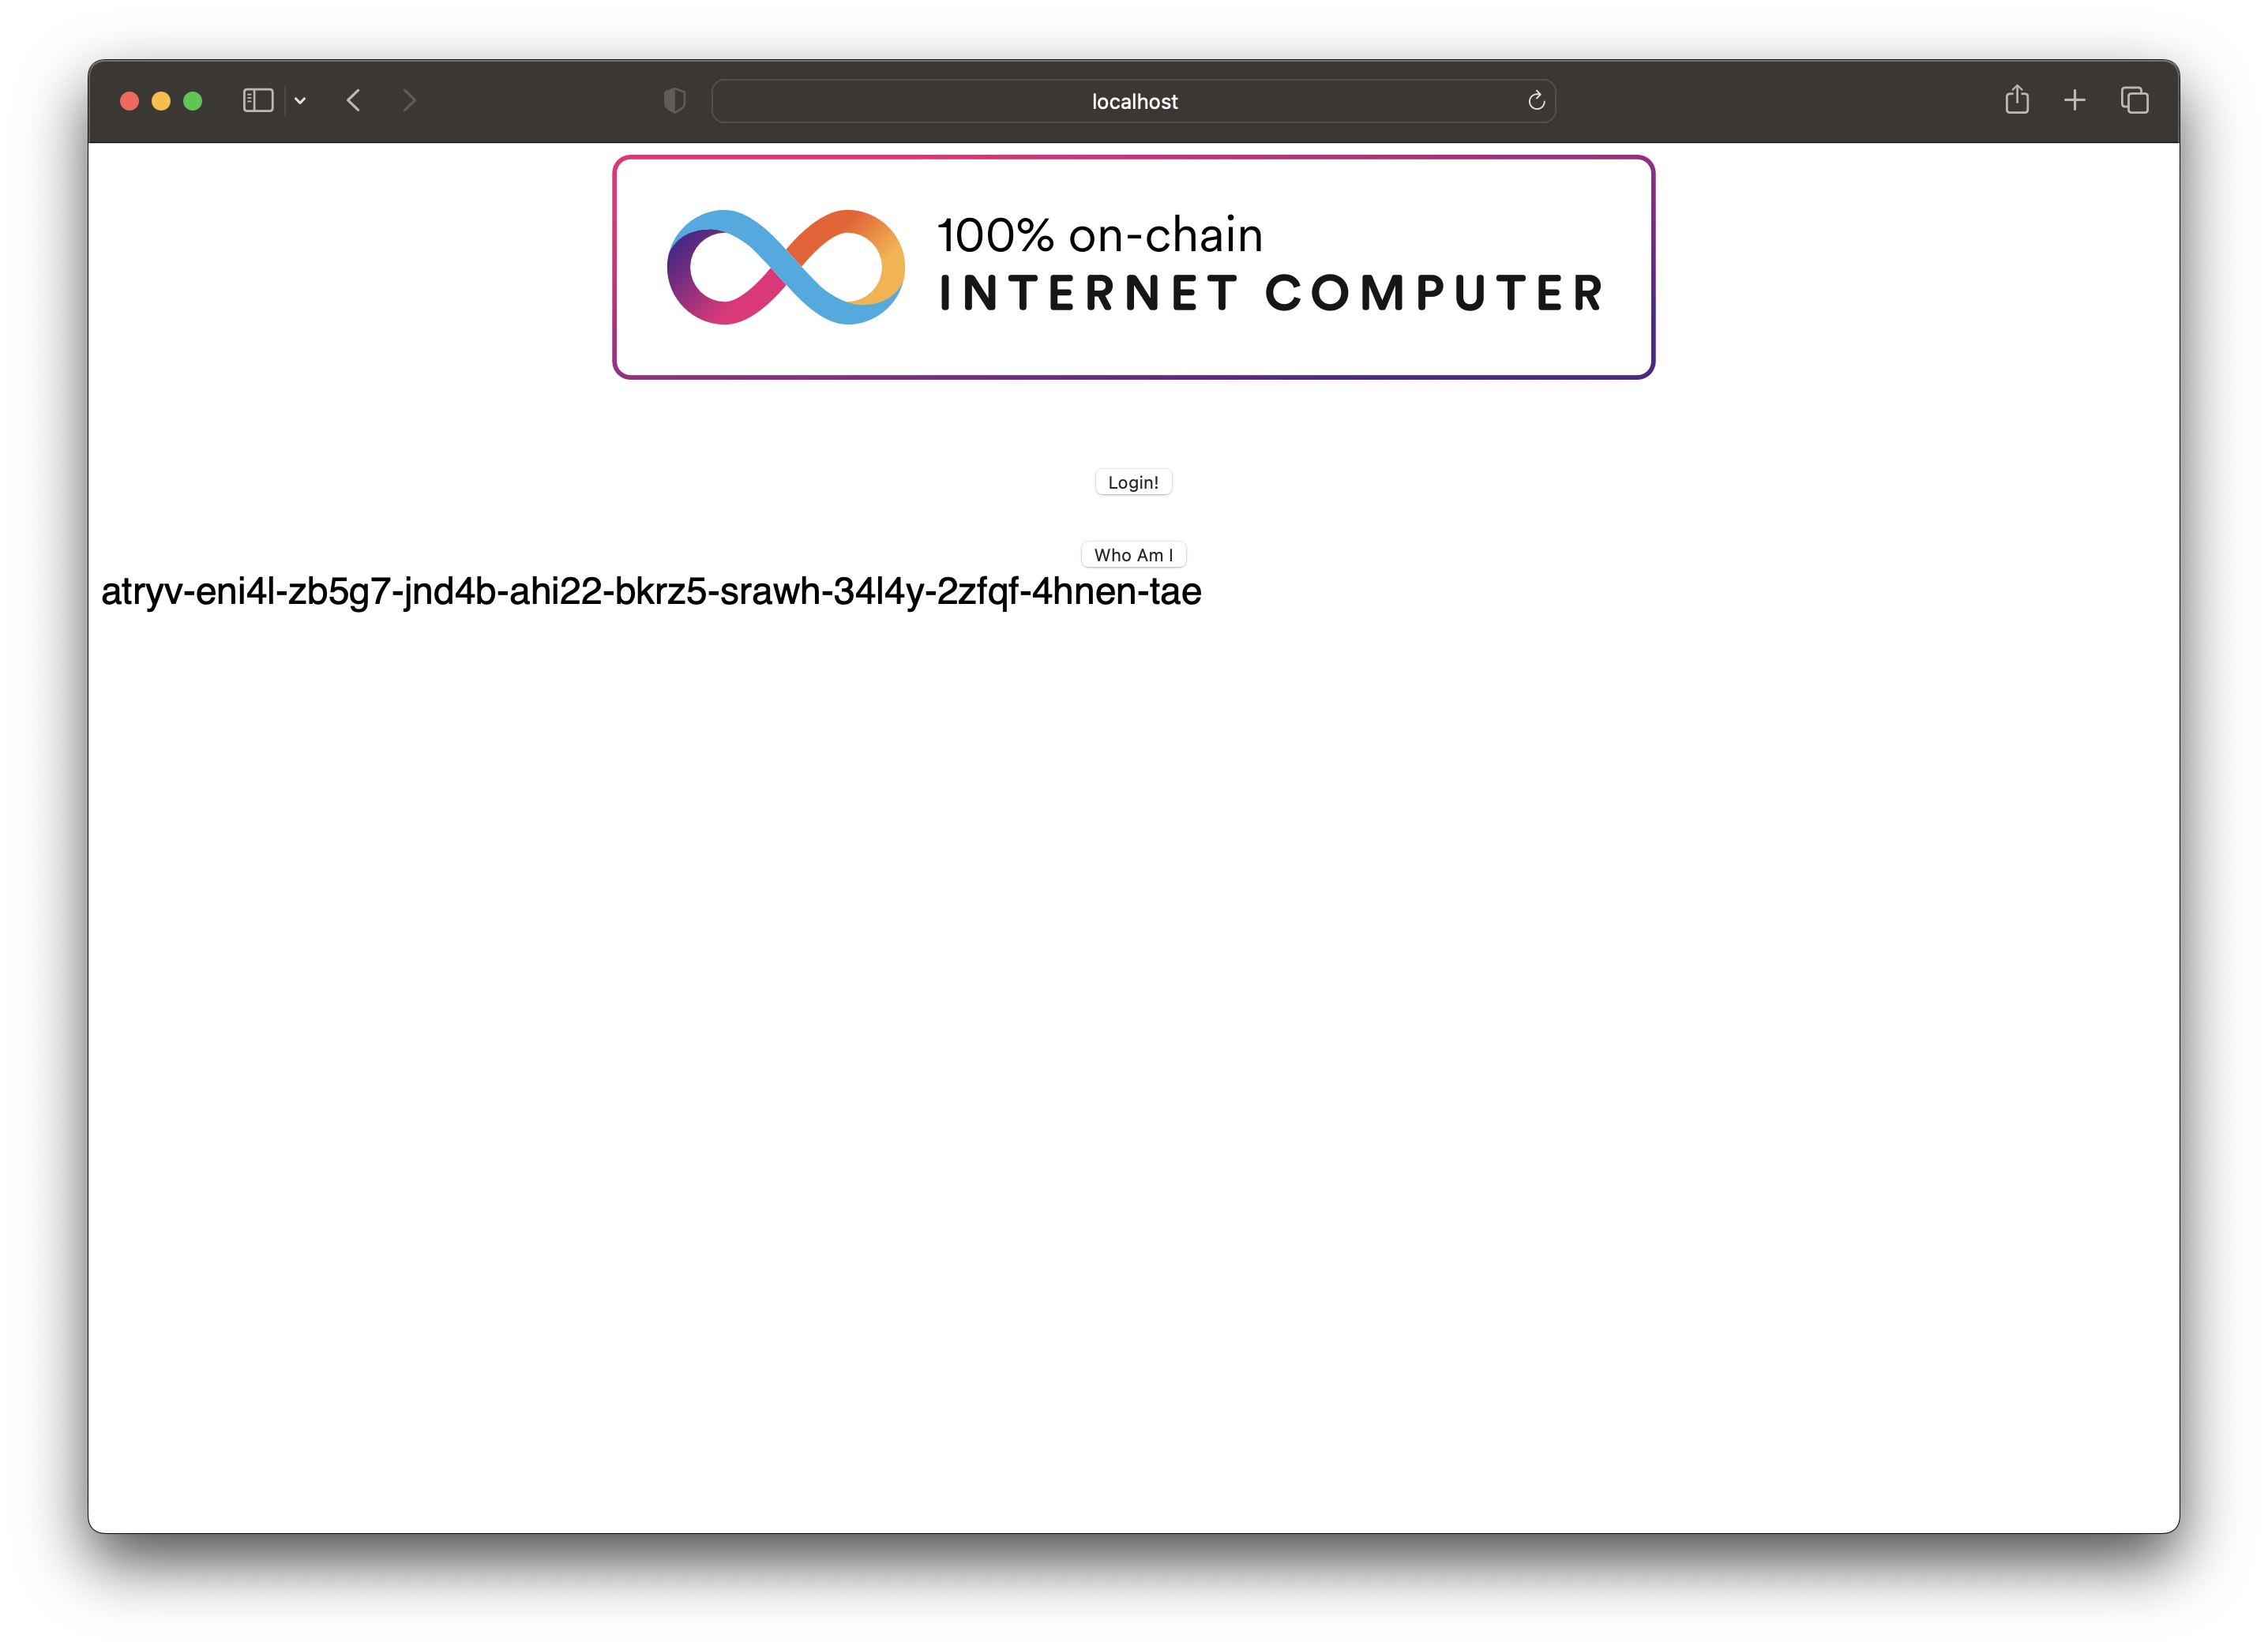
Step 10: Your Internet Identity's principal ID will be returned:
Local frontend development
When modifying this example's frontend, it is recommended to develop using a local development server instead of using the deployed frontend canister. This is because using a local development server will enable Hot Module Reloading, allowing you to see any modifications made to your frontend instantaneously, rather than having to redeploy the frontend canister to see the changes.
To start a local development server, run npm run start. The output will contain the local address the project is running at, such as 127.0.0.1:4943.